

Master aperture, shutter speed, and ISO without the confusing jargon. We'll break down each setting and show you exactly why it matters when you're actually shooting. Digital photography feels overwhelming at first — all those numbers and settings can make your head spin. But here's the thing: you don't need to understand everything at once. You'll learn the basics that actually matter, in an order that makes sense.
Understanding the Exposure Triangle
Three settings control how bright or dark your photos are: aperture, shutter speed, and ISO. They're connected. Change one, and you'll need to adjust the others. Think of it like a balanced seesaw — you're constantly making trade-offs.
Aperture controls how much light enters through the lens. It's measured in f-stops like f/2.8 or f/16. Lower numbers mean the lens opens wider and lets in more light. That's useful in dim settings, but it also shrinks your depth of field — the area that stays sharp. Higher f-stops keep more of your image sharp, but you need more light.
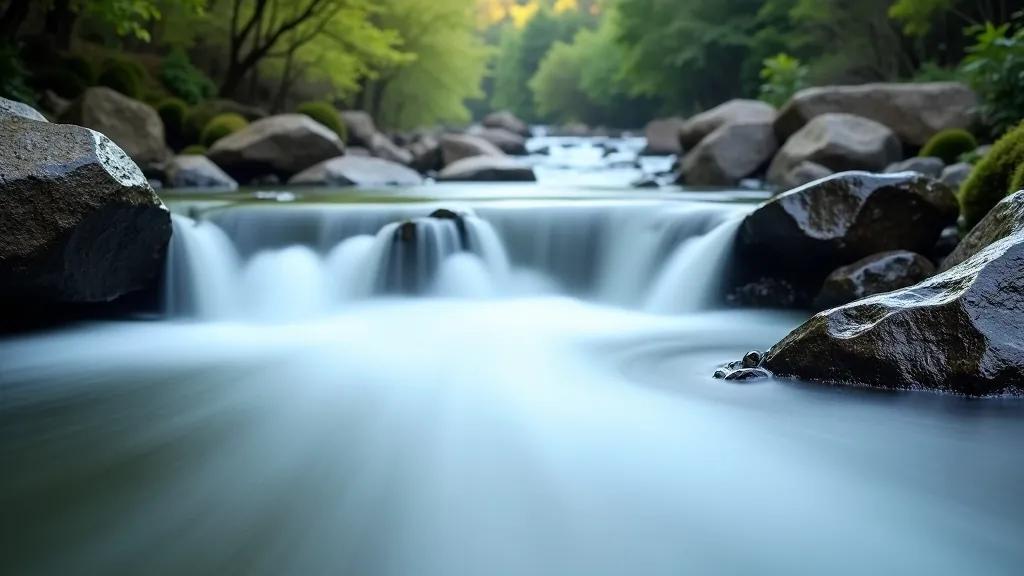
Shutter speed is how long the sensor captures light. A fast speed like 1/1000th of a second freezes motion. A slow speed like 2 seconds creates motion blur. You'll use slow speeds for night photography or dramatic effects. Fast speeds work for sports and wildlife where things move quickly.
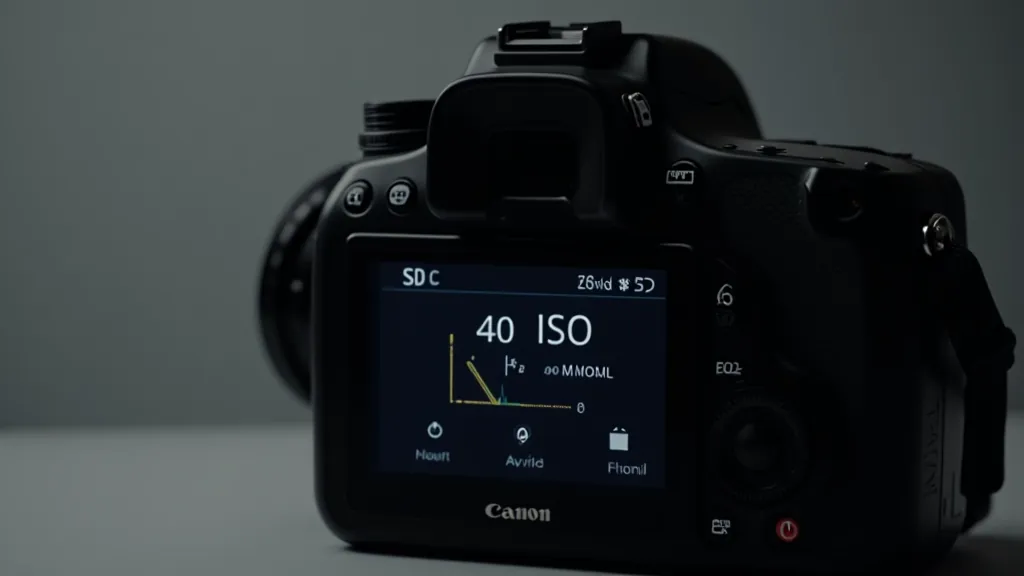
ISO is your sensor's sensitivity to light. Low ISO (like 100) gives clean images but needs lots of light. High ISO (like 3200) works in darkness but adds visible grain. Most cameras handle ISO up to 1600 without too much noise. Beyond that, it gets visible.
Quick Rule
If your photo's too dark, increase one of these: aperture (lower f-number), shutter speed (longer exposure), or ISO (higher number). If it's too bright, decrease them. That's the entire exposure triangle.
Aperture and Depth of Field
Aperture affects two things: how much light reaches the sensor, and how much of your image stays sharp. The second part is called depth of field. It's why portrait photographers love wide apertures like f/1.8. They create that blurry background effect that makes the subject pop.
For landscapes, you want most of the scene sharp. That means using f/11 or f/16. You'll need a tripod or steady hands because those settings need more light, which means slower shutter speeds.
The confusing part: f/1.8 is "wider" than f/16, but we call it a smaller number. Think of it as fractions. 1/1.8 is a bigger fraction than 1/16. Once you remember that, it clicks. Wide aperture = small f-number = more light, shallower depth of field.
Shutter Speed and Motion
Shutter speed determines whether you freeze action or capture motion blur. It's measured in fractions of a second or full seconds. For hand-holding a camera without blur from camera shake, there's a basic rule: your shutter speed should be at least 1 divided by your focal length.
So with a 50mm lens, use at least 1/50th of a second. With a 200mm lens, use at least 1/200th. This prevents the tiny movements of your hands from blurring the whole image. It's not a hard rule, but it's a solid starting point. Image stabilization in modern lenses and cameras can let you go slower, sometimes by 3-4 stops.
For sports and wildlife, you'll want faster speeds — 1/500th or 1/1000th — to freeze fast movement. For night photography, you might use 15 or 30 seconds. The longer the exposure, the more light you capture, but also the more any movement becomes a blur.
A Quick Note
These are guidelines based on common photography practices. Every camera, lens, and situation is different. Your camera's manual will have specific recommendations for your model. Don't hesitate to experiment — digital photos are free. You'll learn faster by taking hundreds of shots and reviewing them than by reading about settings.
ISO and Image Quality
ISO amplifies your sensor's signal. Higher ISO means your photos are brighter, but they're also grainier. Modern cameras handle ISO up to 1600 or 3200 pretty cleanly. Beyond that, grain becomes obvious. Professional cameras have better ISO performance than budget models, but every camera has a limit.
Start with ISO 100 in bright sunlight. In shade, bump it to 400. Indoors without flash, try 1600. In dim light or at night, you might go to 3200 or higher. It's a trade-off: you get a properly exposed photo, but with visible grain. That's often worth it because a grainy photo beats a completely dark one.
Modern editing software can reduce grain, but it also softens detail. It's better to accept some grain in your original shot than to try fixing severe grain in post-processing. Shoot at the highest ISO you're comfortable with, then adjust your other settings around it.
Putting It All Together
Here's a practical example. You're photographing a friend outdoors on an overcast day. You want their face sharp but the background soft. You'd set aperture to f/2.8 or f/4. The camera suggests a shutter speed of 1/250th and ISO 200. That works — your image will be properly exposed.
Now you move indoors. Same aperture, but the light is dimmer. The camera suggests 1/30th of a second. That's too slow for hand-holding. So you increase ISO to 1600. Now the suggestion is 1/125th — much better. You've balanced all three settings to get a usable shot.
Start with your camera's auto mode. It works better than you think. But switch to aperture priority mode once you're comfortable. Set your aperture based on how much depth of field you want. Let the camera handle shutter speed and ISO. It's a great middle ground between full auto and total manual control. After a few weeks, you'll understand why settings matter. Then you're ready for full manual mode.
Where to Go From Here
Digital photography isn't as complicated as it looks. You've now got the foundation: aperture controls depth of field and light, shutter speed freezes or blurs motion, and ISO amplifies your sensor's signal. These three work together to create properly exposed images.
The next step is shooting. Lots of shooting. Take photos in different light. Try different apertures. See what shutter speeds feel natural. Your camera's manual will explain the specifics for your model. But the concepts stay the same across all cameras. Master these fundamentals, and you'll understand digital photography at a level most casual photographers never reach.


